This recipe was borne out of a desire to enjoy gluten and dairy free cakes , as I have developed a gluten and lactose intolerance.
This was my first attempt at cake baking and I chose it because pineapple is one of my favourite fruits.
I tweaked the recipe slightly by adding some extra flavour and fibre, and it came out very light and fluffy with a balanced flavour.
Ingredients
425g tin pineapple rings in juice (I used 5 rings )
4 tbsp Billingtons Golden caster sugar
235g/8oz dairy free Vitalite butter
175g/6oz Billingtons Golden caster sugar
3 free-range eggs, beaten
175g Doves Farm Gluten Free Self Raising White Flour
1 tsp Betty Crocker baking powder (gluten free)
pinch of sea salt
2 tbsp Arla Lactose free semi skinned milk
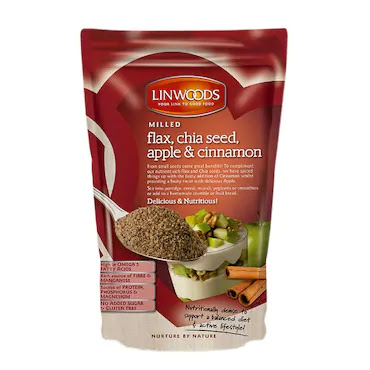
1 tbsp Linwoods Milled Flax, Chia Seed, Apple & Cinnamon
Method
Preheat the oven to 180C/170C Fan/Gas 4. Butter the sides of a deep 20cm/8in cake tin.
Drain the pineapple slices and leave to dry on kitchen paper. Put the soft brown sugar and 60g/2oz of the butter in a small frying pan and melt over a medium heat. Spoon into the prepared cake tin. Cut seven of the pineapple rings in half to make semi-circles and arrange around the tin – you may only need six of the rings depending on how tightly you pack the slices. Place the remaining whole ring in the middle of the tin.
Cream the remaining 175g/6oz butter and the caster sugar together until pale and light. Gradually add the eggs, mixing well between each addition. Add 1 tsp of the pineapple juice from the can.
Sift the flour, baking powder and salt into the mixture in step, add the milk and mix until smooth. Carefully pour the mixture over the pineapple slices and spread evenly to level out.
Bake for 30 minutes, or until risen, golden brown and a skewer inserted into the middle of the cake comes out clean.
Leave the cake to cool in the tin for 1 minute and then carefully turn out onto a serving plate and leave to cool. This cake is best served slightly warm or at room temperature, with vanilla ice cream, lightly whipped cream or custard.
- Use a handheld mixer for step three if you don't own a standing mixer
- Use a cake liner for the baking tin to make removing the finished cask easy


No comments:
Post a Comment